Boy Meets Girl


It's the story you've heard time and time again.

Boy meets girl.
Boy pursues girl.
Boy proposes to girl.
Girl says yes.
They live happily ever after.

Only not.

Our story is more complicated. And yet, it's all so simple.

Boy meets girl.
Girls is unavailable.
Boy and girl work together.
Boy and girl become great friends.
Girl is available.
Boy likes girl.
Girl likes boy.
Boy proposes to girl.
Girl says yes.
Boy gets deployed.
Girl plans a wedding.

I'm that girl, welcome to my blog.

Saturday, April 9, 2011

Girl makes brooch bouquet

Boy proposes to Girl.
Girl says yes.
Boy goes to war.
Girl plans a wedding.
Girl asks for help.
Girl gets brooches.
Girl makes brooch bouquet.

When I decided to make a brooch bouquet... I had no idea what an undertaking it would be!
I had seen pictures and figured I was pretty good at crafts...

Little did I know...

After looking around on the internet and trying to figure out exactly how I wanted to do it, I came up with a plan... sort of.

Before I begin explaining this process, I want to give kind of a disclaimer:
1. This is a HUGE project. It takes lots of time and lots of patience. It also takes a lot of trail and error.
2. This takes a TON of brooches. I used about 80 brooches to get the full look of mine.
3. Some people seem to choose brooches of the same color scheme. I did not. I wanted my bouquet to have meaning, so my family and friends sent them to me. None of them matched. At all. But I loved it that way. If you are choosing your own, you could choose a color scheme, or even a metal color. Or simply all "flower" shapes. I chose not to do that... I had all colors, shapes, sizes and metals... I even had some that were not flower shapes.
4. This is not something I would recommend doing yourself. I did 95% of it myself, but my wonderful florist friend, Angela, helped me put it all together. Had it not been for her, It may have looked like a sparkly mess.
5. I am explaining these steps according to how I did it. I couldn't find step by step instructions anywhere, so I just kind of had to figure it out. You may want to change the way you do it to fit your style and what you want the outcome to look like..
6. The end result is VERY heavy. It is not easy to carry all day long, and can also make picture taking somewhat difficult. So be prepared for the extra weight as well.

With that said....

First, I headed to Michael's (craft store) and loaded up on all the stuff I thought I'd need. Needless to say, I made a couple of trips back. But this is what you will need:
1. 22 gauge green florist wire (lots of it!)
2. Pipe cleaners (at least 2 for each stem)
3. green florist tape (lots of this too!)
4. 50-80 brooches (vintage or otherwise. Other misc jewelry can sometimes be used also)
5. 2-3 stems of silk hydrangeas (I used white, but you could use any color)
6. Wire cutters
7. Needle nose pliers
7. 2 inch wide ribbon (I used off white, but any color would work)
8. Hot glue

Once I had gathered all the stuff I thought I'd need, here are the steps I took:

1. Prepare the brooches.
I made sure they were all securely pinned shut. For a few of them, I had to hot glue the clasp to make them stay. A few didn't have pins on the back, so I had to be sure there was some way to wrap my wire through them.

2. Attach wire to each brooch, creating a "stem"
Each brooch is different. So this was kind of a trial and error for each individual brooch. I wrapped wire around the pin part of the brooch and connected it in the middle of the brooch, twisting it tight so that when I held the wire, the brooch wouldn't flop. I twisted the two ends of the wire all the way down the stem to reinforce it. The needle nose pliers are a lot of help here. You want the stems to be close to a foot and a half (18 inches). I know it seems long, but they need to be long enough to go through the hydrangea and make a long stem for you to hold.

3. Reinforce the wire "stem" with pipe cleaner

I took a green pipe cleaner and wrapped it around the wire to give the stem reinforcement and thickness. The stems were long enough that it usually took two pipe cleaners for each stem. Sometimes three. It isn't crucial for the pipe cleaner to go all the way down... its most important on the top half.

4. Wrap the stem with florist tape
Starting from the top of the stem, wrap floral tape around and around in a diagonal motion to cover the stem. This reinforces it again, makes the stems look green like stems should be, and also gives the stems a little stick which will help when you put the whole thing together.

5. Continue this process with each brooch (or piece of jewelry)

It's good to have lots of different shapes and sizes because it will help your bouquet to have a full look. It will help with piecing it together and making the finished product.

6. Cut stems of hydrangeas
Not too short! You want them to be plenty long enough to hold with two hands... and still have a little room left. But most of the silk hydrangea flowers have SUPER long stems and that makes them hard to handle.

7. Hold hydrangea stems together
This will create kind of a mini bouquet, and the base for your bouquet.

8. Begin placing brooches
This is where it gets tricky and where I had help from my florist friend. She took each brooch stem and pulled it through the hydrangeas, letting the brooch sit on top of the flowers, and gathering the stem with your other hand. This is basically creating the bouquet. You do this much the same way you would with live flowers or silk flowers. It will get harder the more you do. It's best to start with the larger brooches.

9. Fill in the open areas with the small brooches
Continue the same process, but fill in the open areas with the smaller pieces. It will help your bouquet look full and complete. You can also use the wire stems to your advantage by bending them to fit where you need them.

10. Wrap the stems
After you have built the bouquet where you like it, and you are ready to finish it up, keep the stems gathered in one hand, and use florist tape to wrap the stems together. It may help to have another person helping you here. The bouquet will be full and heavy by this point and hard to handle with only one hand. Wrap in a diagonal motion all the way to the ends of the stems.

11. Finish off the stems with ribbon
Take the two inch ribbon, and starting at the top, wrap in the same diagonal motion all the way down the stems, being careful to completely cover the green from the stems. Use the hot glue gun to secure the ribbon at the bottom of the bouquet.

This whole process takes a long time... I did it over the course of several days. It is also a lot of trail and error and being patient. But if you can manage to do that, it is really a beautiful result.


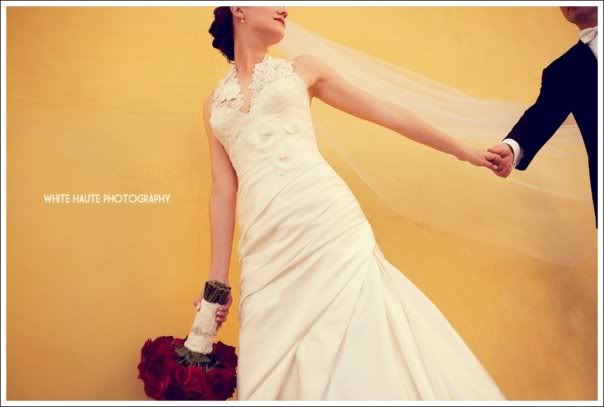
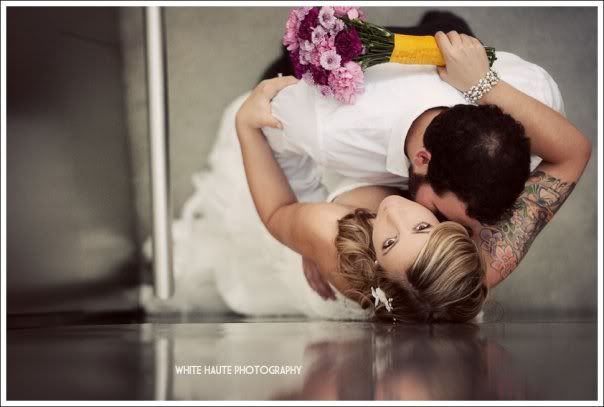
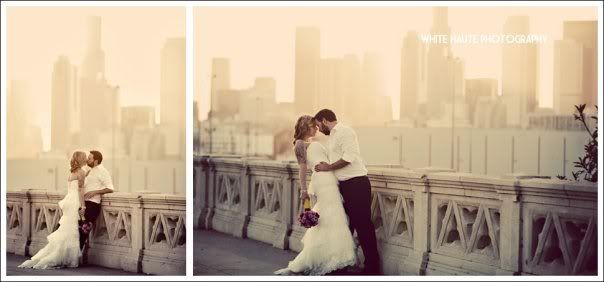
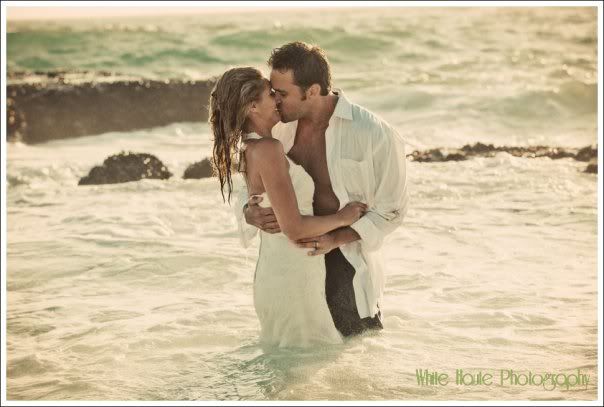
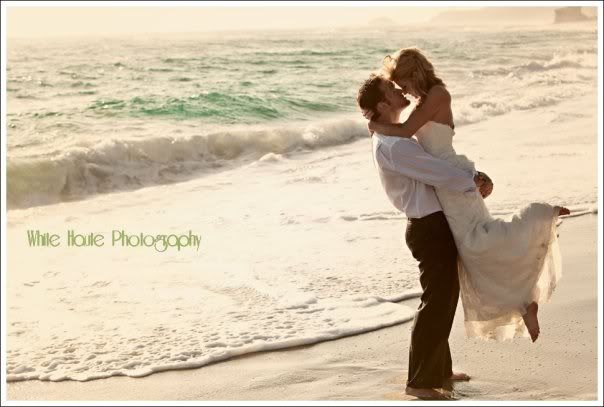
Thanks to our fabulous photographers Chris and Erinn of White Haute Photography for the images :) And to my friend Angela of Perfectly Pink Florals for helping me with this huge project!

Friday, January 28, 2011

Girl gets brooches

Boy proposes to Girl.
Girl says yes.
Boy goes to war.
Girl plans a wedding.
Girl asks for help.
Girl gets brooches.

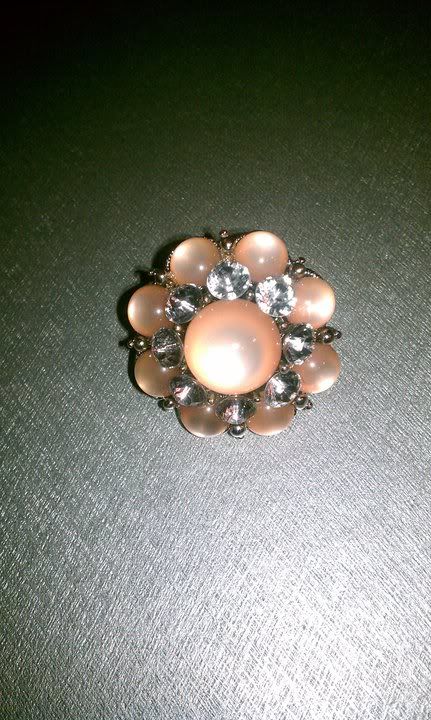
I have been absolutely blown away by the response I have gotten when it comes to my brooch bouquet. I sort of expected my family to send me brooches, and maybe some friends... but blog readers? And people I've never met? BLOWN. AWAY.

A few days ago I received a package that totally shocked me. And made me cry. Good tears, and sad tears. I blogged a year and a half ago about the passing of my childhood friend, Ethan. If you have no idea what I'm talking about, you can go back and read that blog here. When I opened the package, I pulled out a letter from a girl that I have never met. But Ethan was our mutual friend. This is what the letter said,

Dear Diandra,
As I mentioned in my email to you, I was introduced to your blog through Ethan Townsend. While he is no longer with us, I know if he was around, he would want to contribute in some way to your wedding. Therefore, I wanted to take it upon myself to partake in this project on his behalf.
I met Ethan through one of my best friends. Ethan and my friend Andy met at Stanford University their freshman year and quickly became best friends. They went on to room together for multiple years and travel around the US and internationally. I told Andy about your blog and I wanted to share a quick snippet of our conversation. Andy thought it was amazing that Ethan was able to bring people together in life and in death. But most of all, I want to stress to you how lucky you are that you are able to marry your best friend. When I told Andy about the bouquet, he said that one of the hardest things he has had to come to terms with, beyond not being able to pick up his phone and just chat with Ethan about whatever random thing had happened that day, was the fact that his best friend, the person whom he imagined would stand by him on his wedding day, as his man of honor, would no longer be able to be there to stand by him on one of the most important days of his life.
I hope that you like both of these flowers and that they can each be a good addition to your bouquet. I cant wait to see how the whole DIY project comes together. I only wish you the best in life for you and your future husband.
Sincerely,
Sara

I have enjoyed getting brooches from everyone. But this particular package was so near and dear to my heart. This is exactly the reason I wanted to put together this bouquet. To have a little piece of the people I love with me on my wedding day. Including the ones that cannot be there in person.

I am so grateful to Sara and Andy for sharing such a special gift with me on behalf of Ethan.


Photobucket


Photobucket


Saturday, January 22, 2011

Boy and Girl take engagement pictures (part 2)

Boy proposes to Girl.
Girl says Yes.
Boy gets orders.
Girl wants pictures.

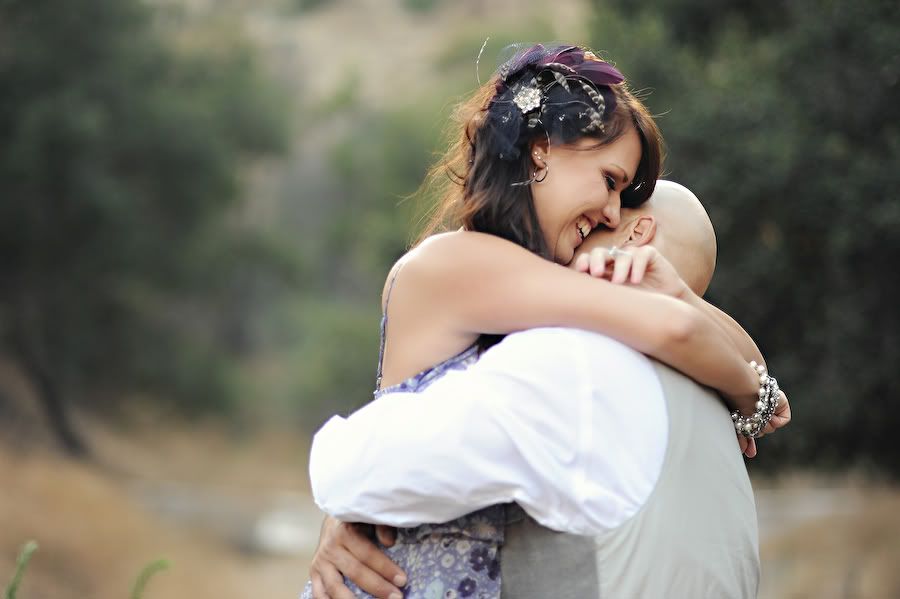
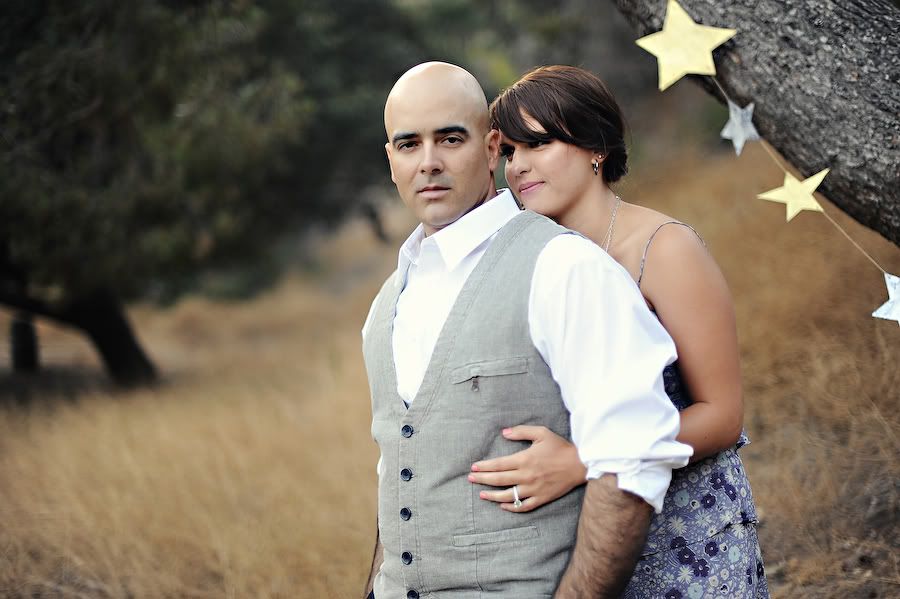
As I was writing yesterday's post, I went back to get a link to our engagement photos and realized that I never posted the second half here on the blog! If you didn't see the first half, you can check it out here. I spent a lot of time and energy while J was first gone planning this engagement session with the help of our amazing photographer, Jordana of Hazelnut Photography, and our wedding planners Ashlyn and Heather of Carter and Cook Event Co. I knew that I wanted our photos to be personal and special to us. So together, we pulled off a pretty cool little shoot. The reason I couldn't share it on here earlier is because it was picked up and featured on Green Wedding Shoes. There was so much thought and detail put into this shoot and I am thrilled to share it all with you now :)

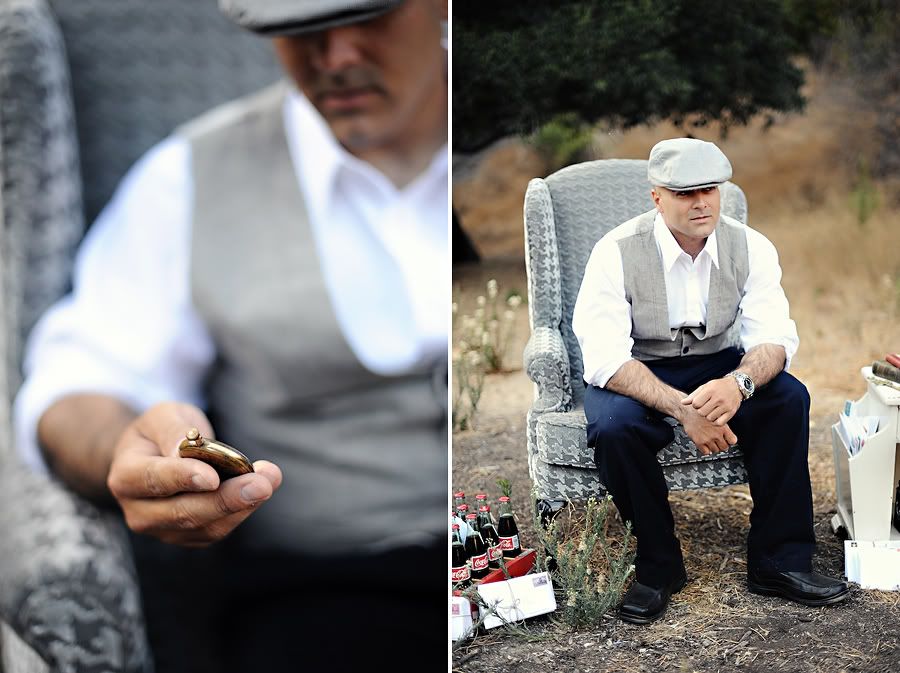
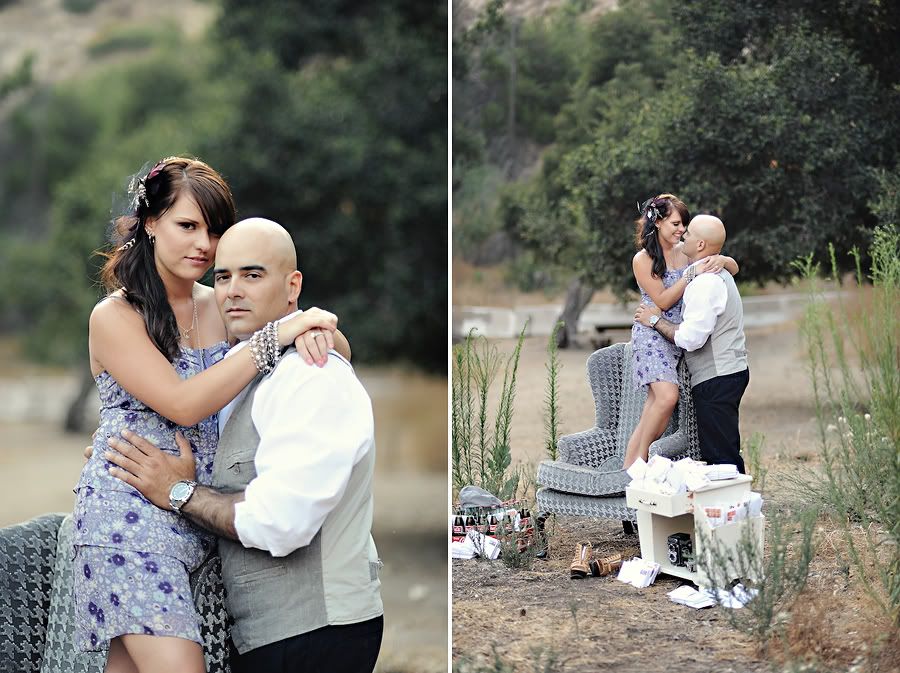
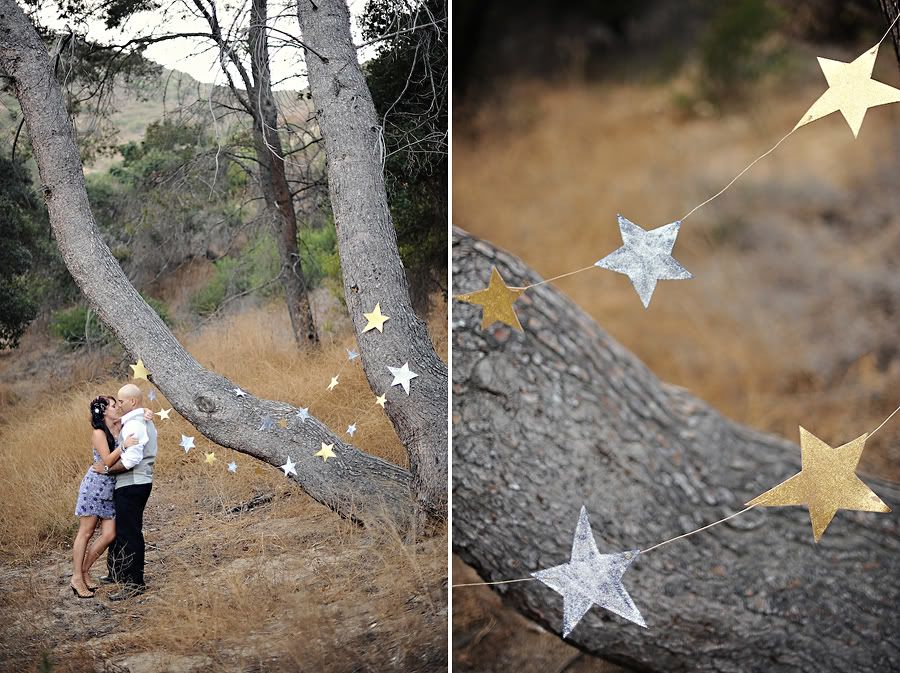
Our theme was love letters and stars. The thinking behind it was a combination of several things... The stars symbolize the star in the Cuban flag (J is cuban) as well as the star that represents the Army. To me it also represents that old childhood tradition of wishing on a star. The love letters represent the long distance relationship between J and I. Obviously we have spent a lot of time apart and the letters have so much symbolism to the two of us. In addition to that, we added a little bit of a 1940s "Notebook" look. "The Notebook" is my favorite movie. I adore it. I love the love story that is so passionate between the two characters. I have told J over and over again that he is my Noah. And I feel blessed to have a relationship that is that passionate and genuine. I think it is truly rare.

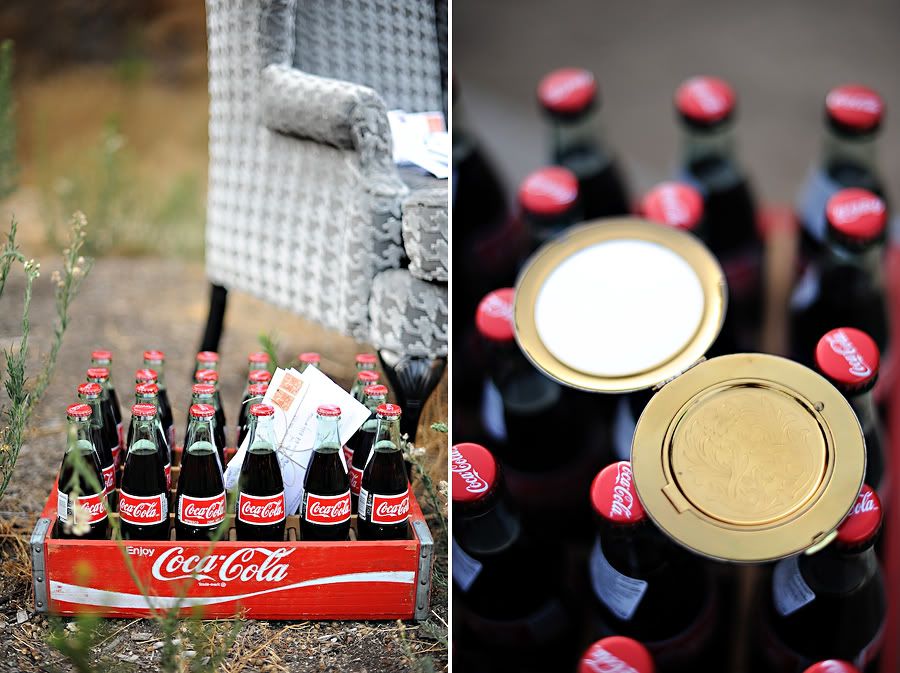
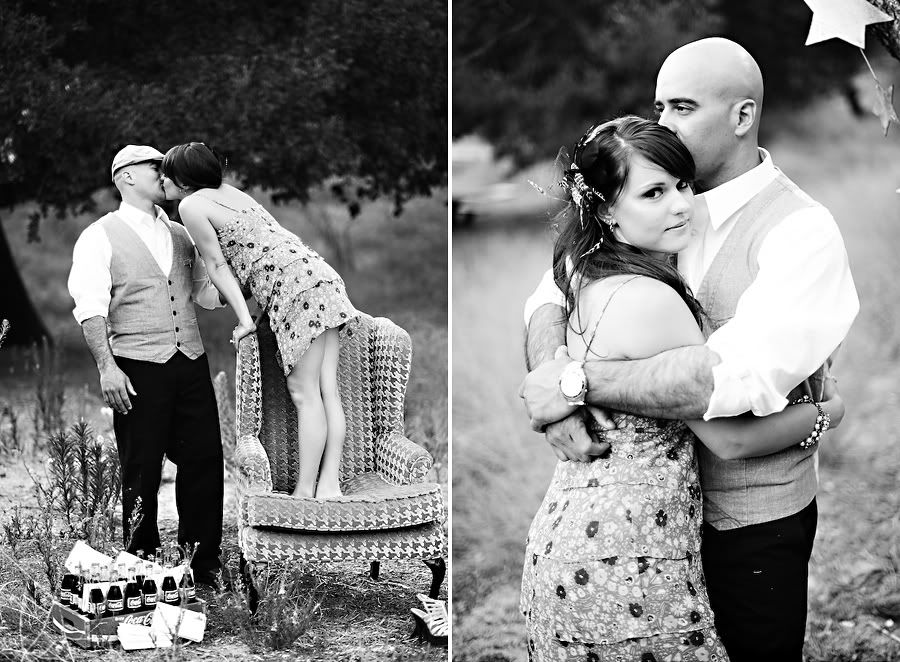
Tying in with our vintage-y theme... this coke bottle holder has been my mom's for years! The coke bottles I got at Costco :) That compact mirror I bought at an antique show last summer.
Photobucket

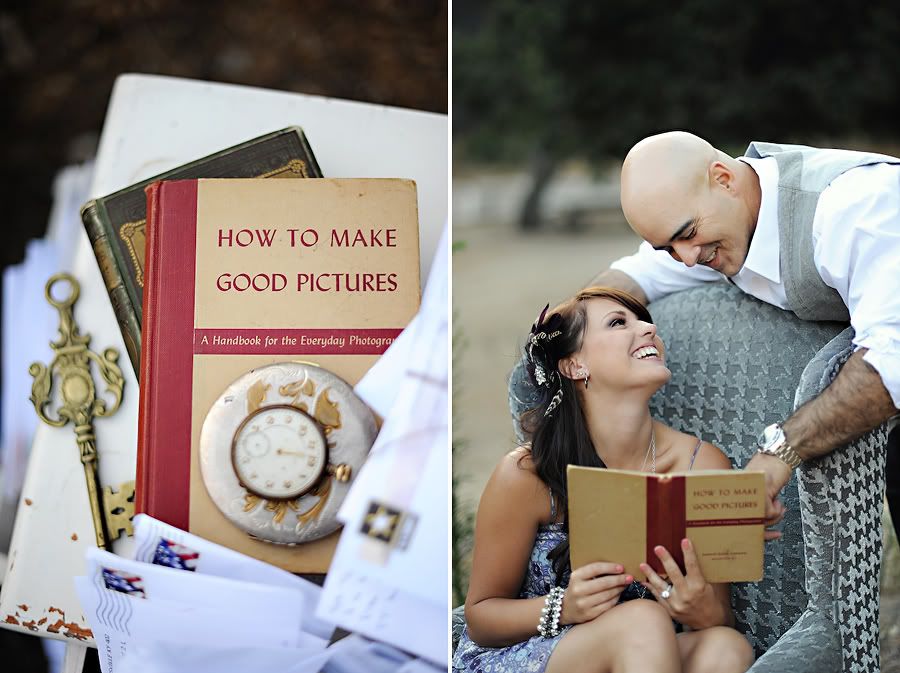
I loved these books and HAD to have them when I saw them at the antique show last summer. Being a photographer, I loved the 1940s book written about how to make good pictures. The book below is a book of poem's that is actually refered to in the book, "The Notebook".
Photobucket


Photobucket

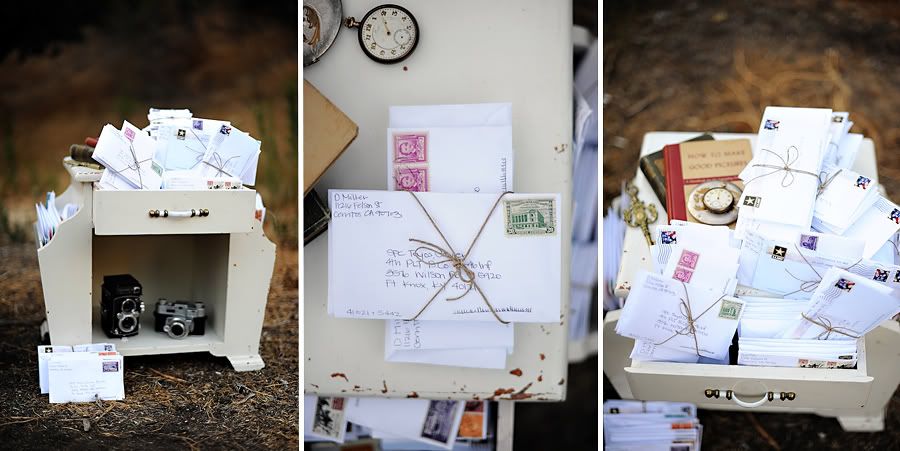
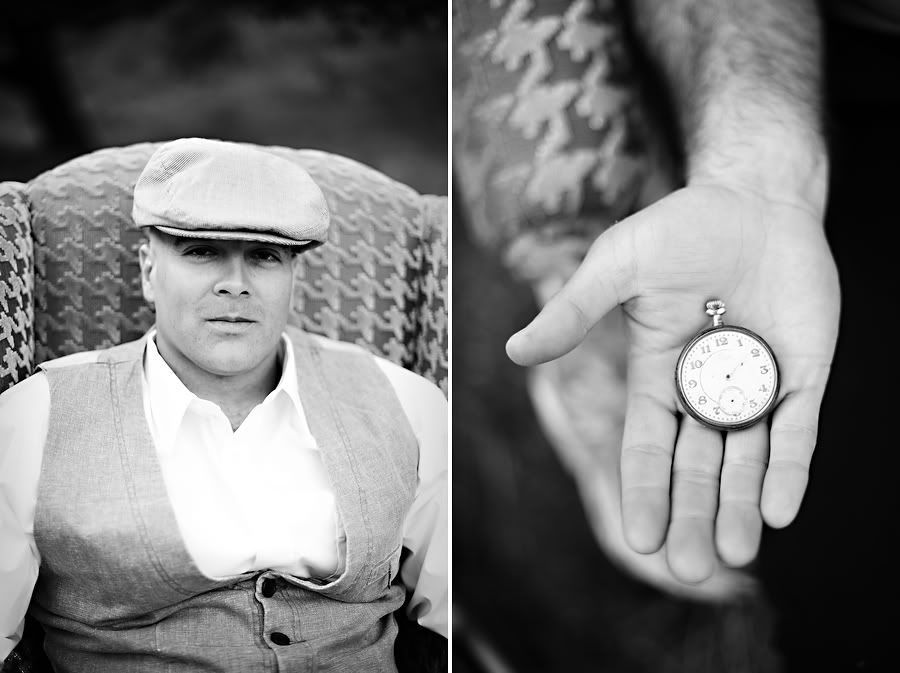
Ohhhh the letters! Some of these are real, and some of them are stuffed and made to look real :) You may also notice my cameras. I collect old cameras and they were a perfect addition to the shoot! The little white thing is my mom's. She's had it since I was a kid. The pocket watch just seemed too perfect. I got it at the antique show as well. Funny thing is that it's broken... but I love it!
Photobucket

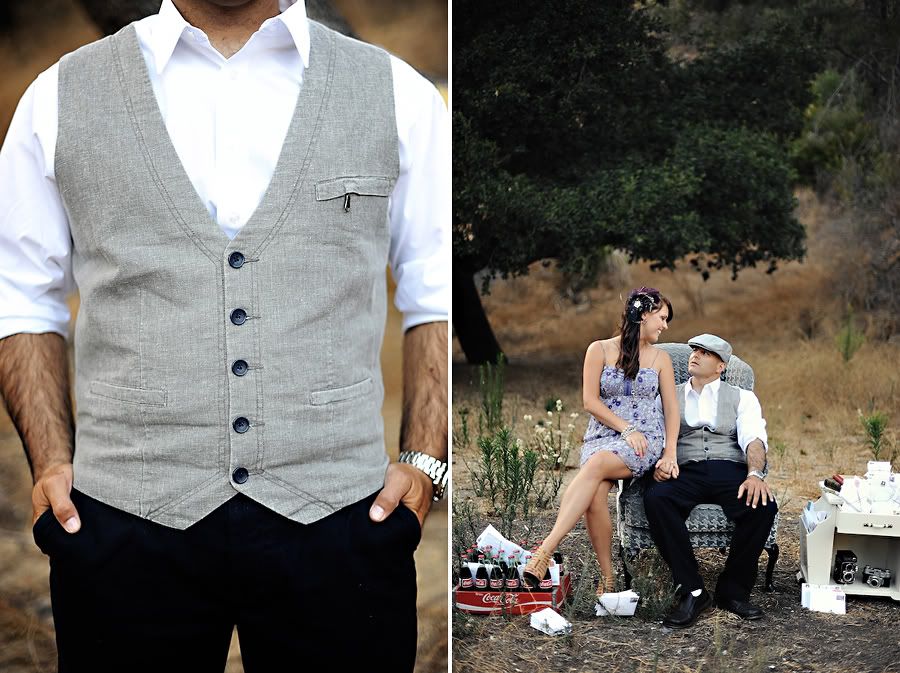
J's vest. This is a hilarious story. My mom blogged about it. She is better with words than I am. But in a nutshell, we went looking for something for J to wear to the photoshoot and ended up almost getting security called on us in Forever 21. But we eventually made it out alive... and with this vest :)
Photobucket


Photobucket

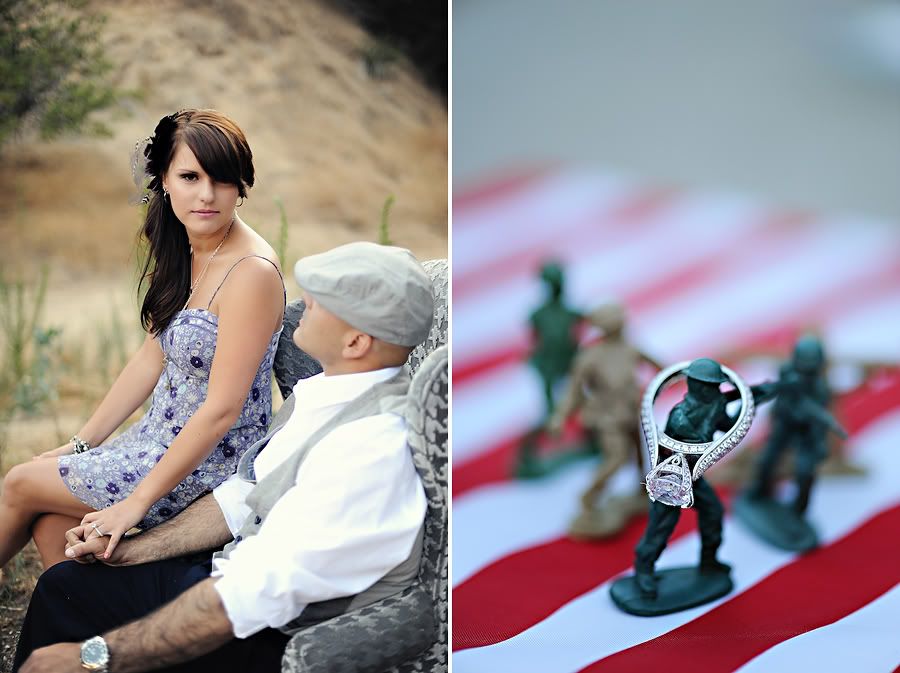
Right before we left, I asked J's nephew if I could borrow a few of his Army men. I promised to make them famous... I ended up LOVING this shot!
Photobucket


Photobucket


Photobucket


Photobucket

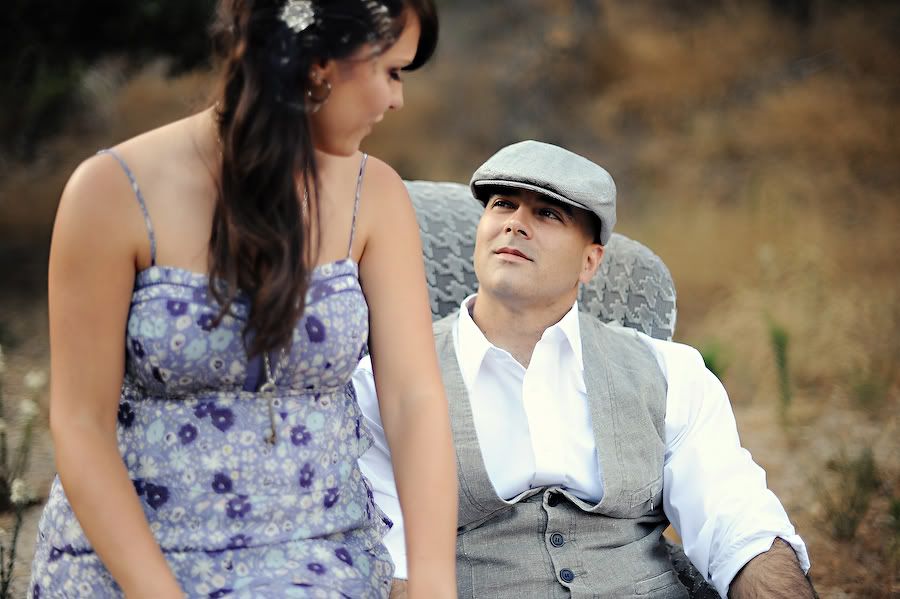
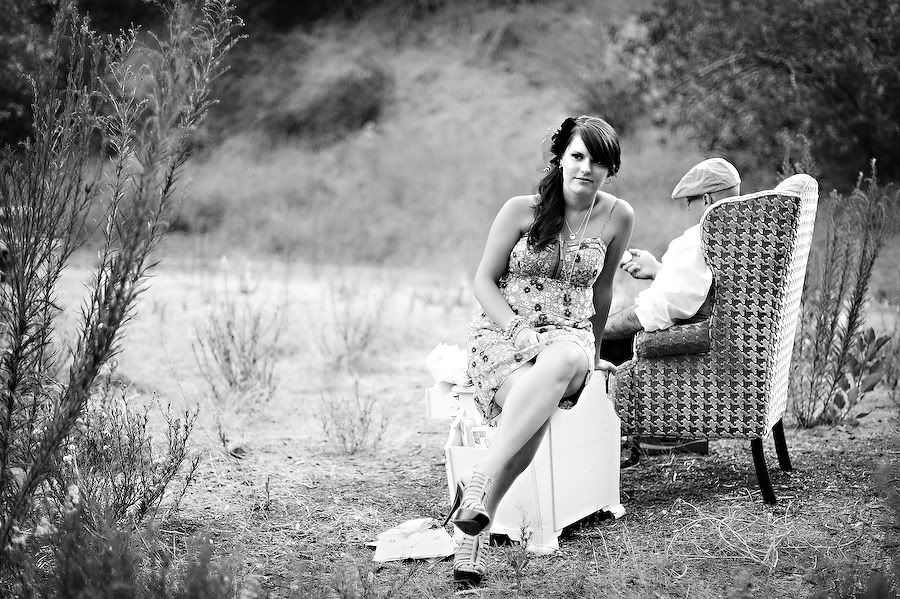
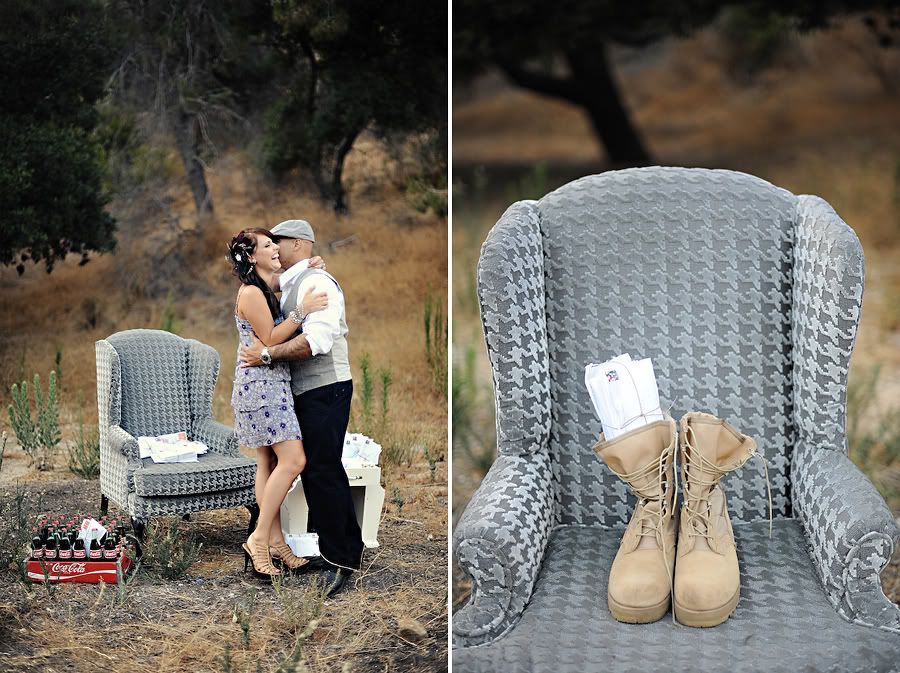
Jordana brought this chair along and it was perfect! I was so glad that she did!
Photobucket

One of my absolute favorites.
Photobucket

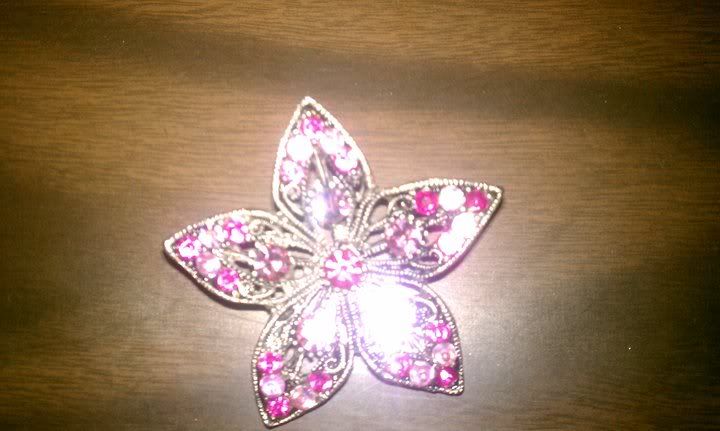
Lauren of Lo Boheme made this amazing hair piece for me. I love her and her stuff. This was perfect! There will definitely be a few of these at my wedding *hint hint*
Photobucket

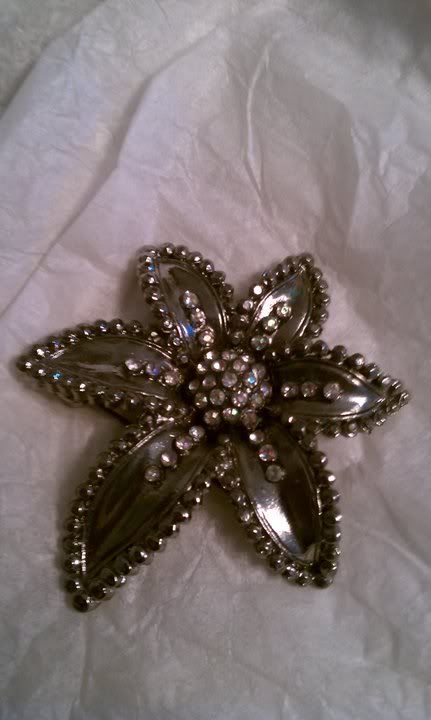
These stars were a labor of love. It took quite a while to put them all together, but I love how they came out!
Photobucket


Photobucket


Photobucket

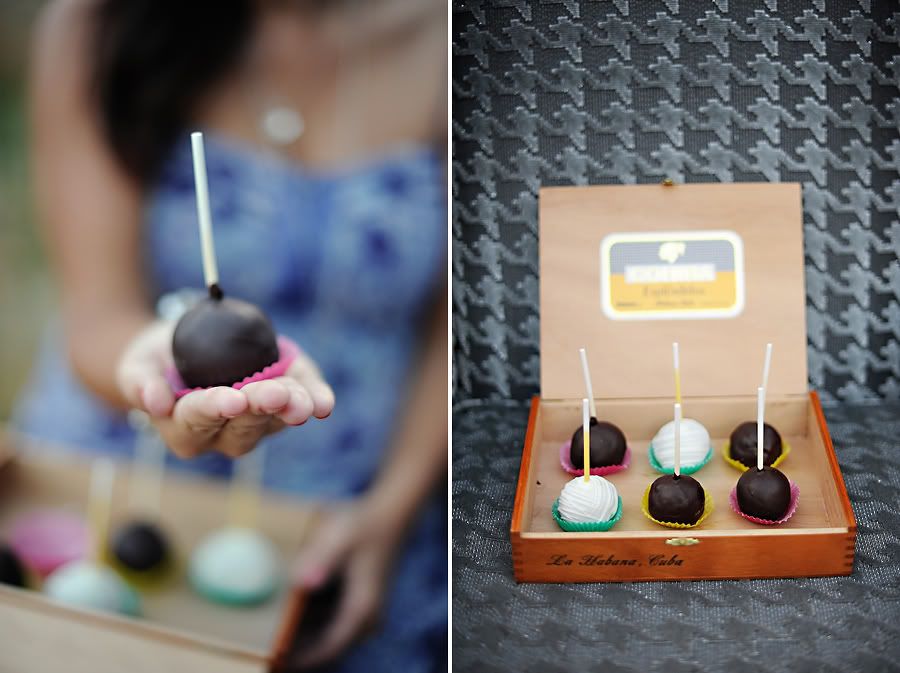
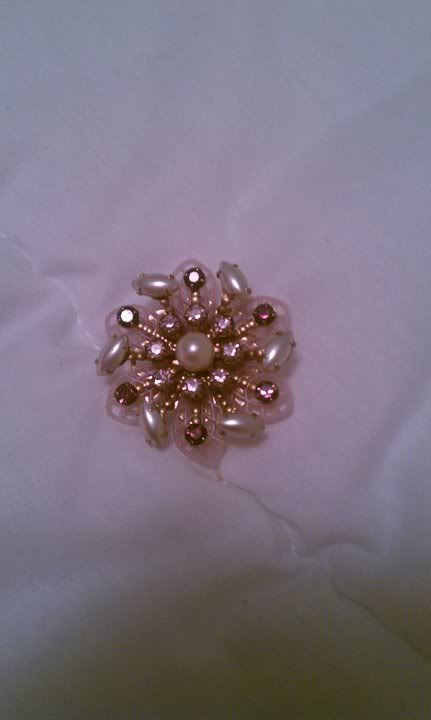
These cake lollipops are our favorite. We eat them every chance possible! They are from Sweet and Saucy Shop. They will also be making an appearance at our wedding :)
Photobucket

J's Army boots
Photobucket


It makes a big difference when you have an awesome team assembled. I couldn't have pulled off this shoot if it wasn't for the incredible people that pulled together to make it possible!

Friday, January 21, 2011

Girl hires photographer

Girl goes through break up.
Girl gets a camera.
Girl starts shooting.
Boy meets Girl.
Boy and Girl become friends.
Boy encourages Girl.
Girl becomes photographer.
Boy proposes to Girl.
Girl says yes.
Boy goes to war.
Girl takes pictures.
Girl plans hires photographer.

Ohhhhh the Photographer.
Photography is my passion.
It is my job, but it is also one of my favorite things in life.
I LOVE LOVE LOVE photos.
I would probably decorate my entire house with only photos if I thought I could get away with it.
J on the other hand has never been one for photos. He doesn't even like to smile. I think it comes from his bad boy days. It's that whole tough guy thing.

But what I am finding, is that he knows how happy pictures make me, so he is learning to love them. Or tolerate them at least. When we took our engagement pictures, he was seriously amazing (which by the way, I just realized I never posted the other half of our pictures! I will do that soon!) He smiled and laughed and had a blast. He also promised me that he would smile during our wedding pictures, because ya know, otherwise it looks like my husband hates me. ;)

So the search for a photographer began. It got even tricker when we moved the wedding up 8 months and all the way over to Vegas. Not to mention the fact that I have so many AMAZING photographer friends. I wanted to hire them all. No joke. Like as in, yeah I have 50 guests at my wedding, but I'm rocking the 30 photographers who are here! Needless to say, I had to make a decision.

Being a photographer myself, I knew what I wanted in a photographer. I have read about 10 million articles on how to choose a wedding photographer and all that... and while they make some good points, I think everyone has their own criteria. Here was mine:

1. They had to be within my price range.
This is huge. Now I will be the first to say that you get what you pay for. And really, wedding photography is expensive. That's just the way it is. As it should be. Wedding photography is a LOT of work. I understand that because I do it! It isn't just showing up and shooting, its all the preparation, all the editing, culling, album design and communication. Not to mention all of the time and training and equipment purchasing it took to even get to that point. With digital photography and the internet, anyone can buy a camera, create a website and call themselves professionals. But the truth is, some are just better. For me personally, Photography was one of the 2 most important things to me. The other being my dress. Everything else was bendable. But we also had a budget. The fact is that we had 8 months less to save, and more expenses because we were doing a destination wedding. So I sent emails to my top choices to see if I could even afford them. Make lots of room in your budget for your photography... it's the only thing you have left after the wedding is over. But at the same time, understand that you have a budget... and keep that in mind when talking to photographers.

2. There had to be a first and second shooter.
I knew that I wanted two photographers. Not just one. I shoot weddings with a second shooter because I know the value of it. I also shoot as a second shooter. It's huge to have two views on the day. Two photogs are for sure better than one!

3. I had to love them and click with them on a personal level.
I read somewhere that you should want to invite your wedding photographer over for dinner. I have to say I totally agree! You spend more time with them than anyone else on your wedding day... and there is a lot of interaction leading up to it as well! If you don't click and get along, your photos will show it. It is important to make connections and build a friendship with your photographer!

4. They had to be able to make J comfortable.
As I mentioned, J is not a big picture taker. And if he feels uncomfortable or weird, then he will not do well in front of the camera. This is what I do, and I have had the privilege of being in FRONT of the camera on more than one occasion with several of my favorite photographers. I know that I want pictures badly enough that I will loosen up and enjoy the day. I will be comfortable much easier than J will be. It was crucial in choosing a photographer that it be someone that J would be comfortable with... someone that wouldn't make him feel akward.

5. They had to be fun and fresh and funky.
When I started looking at venues and vendors in Vegas, I was COMPLETELY unimpressed with photography. Especially when it came to photographers that were included in the packages. All of the photos looked like they came right out of my parents wedding album... but covered in CHEESE! They were stuffy and overly posed and not natural. There were no moments... just planned shots. I knew then and there that we would be bringing someone with us. I didn't want stuffy, typical wedding pictures. I wanted little pieces of art. I wanted little moments of time. Memories.

6. They had to be willing to break a few rules.
I am going to be writing more about this in a later post, but I knew going into this wedding exactly the kind of photos that I wanted. I knew where I wanted to shoot and the feel of the photos I wanted. I knew that to acheive that, I would need a photographer that was willing to break out of the mold a bit.

After lots of thinking and talking to a couple of photographers that I truly admire and respect, we chose a photographer. Well, two actually. They are photographers that I have shot along side of, and that have taken pictures of me before as well! They are not only amazing at what they do, but they have become my friends! I know that they will break rules, create art and make both of us incredibly comfortable.

Our wedding photographers are Chris and Erinn Austin of White Haute Photography.

Photobucket


Here is one from the shoot they did for me:
Photobucket


They are amazing and I know that we are going to have incredible photos of our day! We've spent a lot of time talking and planning, and I will be writing up a whole different blog about planning out our photos! But in the mean time, here is why we chose them. Check out their amazing work!


Photobucket


Photobucket


Photobucket


Photobucket


Photobucket


Photobucket


Photobucket


Thursday, January 20, 2011

Girl gets brooches

Boy proposes to Girl.
Girl says yes.
Boy goes to war.
Girl plans a wedding.
Girl asks for help.
Girl gets brooches.

When it comes to this brooch bouquet, some things have gone exactly according to plan, and some things have been a complete surprise.
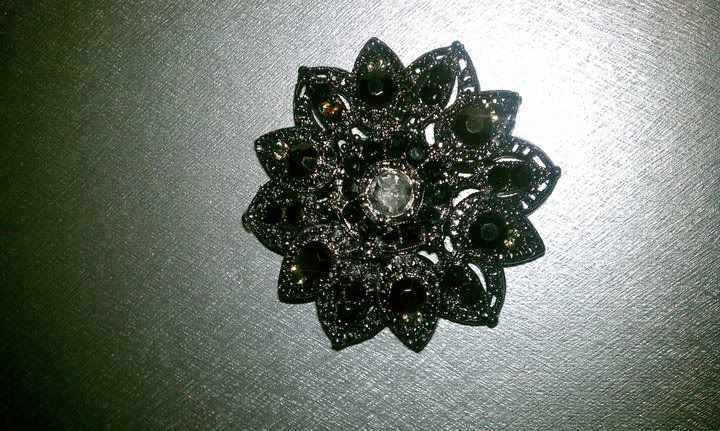
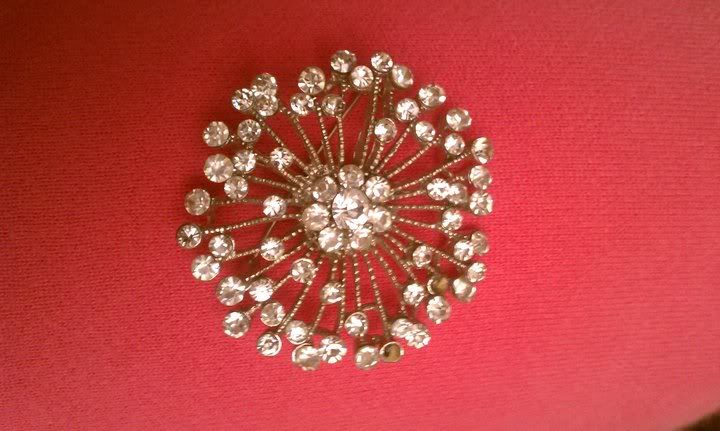
One of the best surprises is the fact that I have received pins from people that I have never met!!! Two of those people are Susie and Francine. Both are J's relatives, but I've never met either of them! Susie and I are friends on facebook and her husband is deployed with the Army as well, so we have lots in common. When I got her package in the mail, I was overjoyed! Then I saw that her dad's wife, Francine had also sent a couple of pins! They are so great and will make fantastic additions to the bouquet!

From Susie:
Photobucket

Photobucket

Photobucket


From Francine:
Photobucket

Photobucket


Another pin I received from someone I've never met is a facebook friend and blog reader/photographer. Faith Cherrise. She sent the pin with some amazing pictures her kids drew for J! I am completely blown away by her kindness! And I love the pin (I know J will love the pictures too!):

Photobucket


Another photog friend contributed to my bouquet as well! I showed up to shoot a wedding on New Years day, and my second shooter for the day, Lisa, came bearing a beautiful pin. She was a teacher and said she used to wear it to school. She wore it so much that the pin eventually broke off of the back! But I love it and it made a perfect flower for my bouquet!

Photobucket


Yesterday I was thrilled to open up a letter in the mail and find this beautiful, unique pin:

Photobucket


It was sent from J's cousin, Mallory. She and I have also become friends over the last few months (thanks again Facebook!) and she has been planning a wedding as well. We've bonded over chatting about weddings, marriage, family, and silly stories. It's been great getting to know another family member! :)

I know I typically only blog about one or two pins in a blog, but I have soooo many coming in and so many more things to blog! I want to make sure I get to everything! I only have 56 more days until the wedding! I can't believe how quickly it's come (although sometimes it still feels decades away!)

Wednesday, January 19, 2011

Girl gets brooches

Boy proposes to Girl.
Girl says yes.
Boy goes to war.
Girl plans a wedding.
Girl asks for help.
Girl gets brooches.

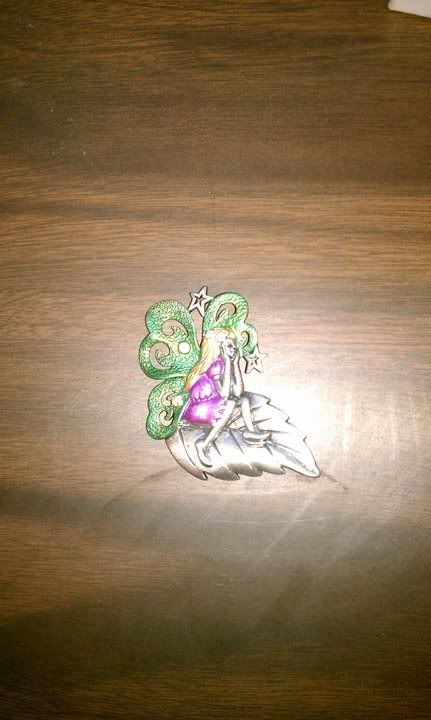
My dad has one sister. And my mom has one brother. We don't have a huge family, but I am fortunate to have a pretty close relationship with the family members we do have! At Christmas, my aunt Brenda pulled me aside and gave me this gorgeous pin:

Photobucket

She told me that as a kid, she remembered her mom (my grandma) wearing this pin on a long purple coat she had. She said my grandma didn't wear many, but she did wear this one. Aunt Brenda thought it would be a great addition, and I agree! It is so different than anything I've seen before!

In planning out this bouquet, I kind of left it's fate in the hands of my family and friends. By asking them to choose pins and not giving any guidelines (color, metals, flower or not flowe), I kind of let everyone else decide how my bouquet would look. It's turned out to be great fun! But I did order two special pins myself. I knew I wanted something specific and this is what I found:

Photobucket


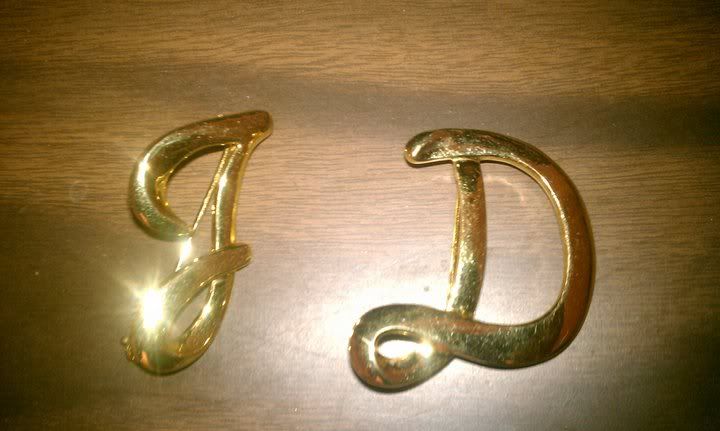
I have a very special plan for our initials... I hope it works out how I envision it :)

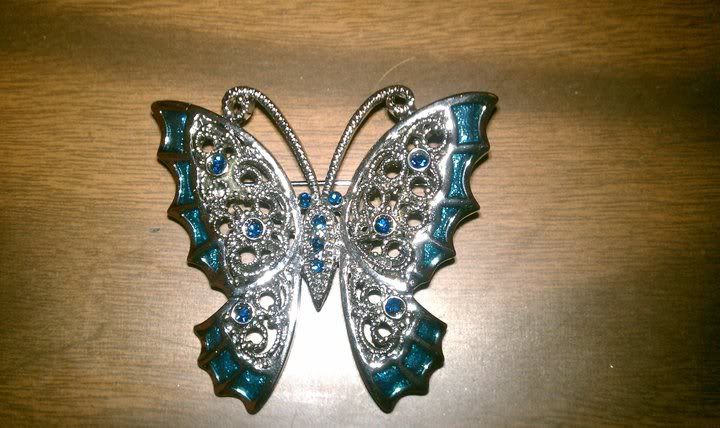
When we got back from visiting family at Christmas, I had a really neat pin waiting for me in the mail. This pin was from our friend Heather. I met Heather a couple of years ago at a birthday party for one of J's nephews. She has been friends with J and his brothers since they were young. And she and her husband and son live right down the street from his family. I have gotten to know her and grown to love her and her family, and I was so excited to see this gorgeous pin in the mail from her:

Photobucket


I especially love that even though she lives right down the street, she sent it in the mail :) So cute! I can't wait to see how the butterfly looks mixed in with the flowers! It is perfect!

The bouquet is growing, and I've made a lot of progress. I've managed to make each of the pins into a flower with a stem... so this week I should be finishing up the bouquet. I still have tons of pins to blog... I'll keep going with that :)